


As a new to Craft Cafe Seller many folks are having some confusion over how to set up a new listing manually. This tutorial will hopefully stop that from happening.
First you need to be a registered, paid seller to set up shop.
When you log in your screen looks like this:

You need to click on the products tab at the top of the page you'll see the tab labeled "PRODUCTS" is slightly raised above the others in the above image. Click that and you get this (but for your shop):

To create a new listing manually you need to click the CREATE New Listing from the left menu - see pink arrow. Clicking that will give you this window:

Here you'll add your title, description, photos, price and so on. Widescreen limits - I can only fit so much on one photo grab. This shows a blank description, the photos section and the start of the categories portion.
(This tutorial will walk you through a full listing with me adding an item to my shop.)
Title - **TIP** - Choose an appropriately named title for your item. Be accurate. Be concise. Long winded overly wordy titles are off putting to many customers - if they have to read 3 lines of text in the title they'll skip your item and move to the next.
Description - this is where you go into more detail about your item. Tell the customer anything about the item you yourself would want to know if you were buying the item from another seller (Sizes, measurements, colors, options, materials etc)

In the image above you can see I've added the title and description for the item I'm adding. Next up is photos. I'm showing a couple of photos here to give you examples and to show you the results of each:
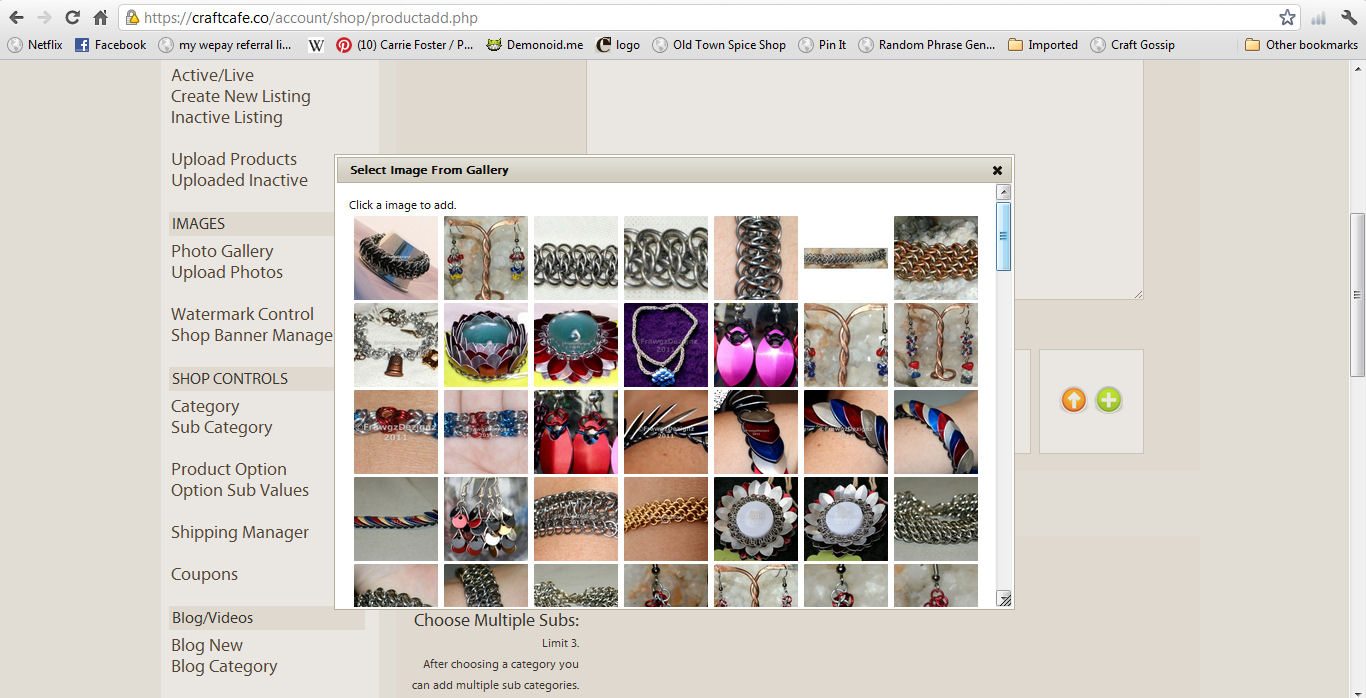
This photo - My mouse is hovering over the green (+) symbol to add an image from the gallery. If you've already done a mass upload of images you can click the green + to get your full gallery list of images.

The picture below shows my full gallery - it does not contain the images I need to use for the item in question for this tutorial. So I need to upload new images to my gallery.
I close out the gallery and instead over over the orange UP arrow in the photos box. My mouse is hovering over the orange UP arrow getting the little hover text upload an image.

Click the orange upload an image arrow and you get this:

In the next photo you see I've added an item from my computer to the upload images area using the SELECT images button on the side of the uploader menu.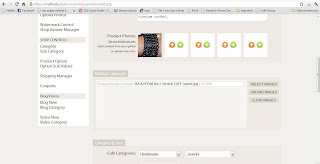

By clicking UPLOAD Images the text in the box changes slightly (Next photo will show my two uploaded images)
Both show "DONE" in the uploader section - you'll then go to the green + arrow and click it and pick them from the updated gallery (see pink arrow). The image below this one shows both images added to my listing.
Both show "DONE" in the uploader section - you'll then go to the green + arrow and click it and pick them from the updated gallery (see pink arrow). The image below this one shows both images added to my listing.

Both images now uploaded and used for this listing:

Now we move on to categories, tags, pricing and more:
This image shows the option of Handmade for the only category. I only have paid for a handmade shop - this is the only main choice I will see. If you've paid for a handmade AND a supply shop you'll see both handmade and supply here.

The next image shows the main category choice menu (this item falls under jewelry - which is further down in the scroll list)

Next is sub categories: - this will vary by what main category you've chosen in the previous step.

Because this item is both bracelet & chaimaille I will choose bracelet (add) and Chainmaille (add)

Next image is keywords/tags:

As you can see I've added 5 keyword tags that fit the item I'm uploading. This also shows the shop category section. Here you choose where you want the item to be listed in your shop. Its Jewelry for me - so that's where it goes.

This last image shows Price, quantity, weight (how much does 1 of the item weigh with or without packaging - this ties into shipping which will be another tutorial), adjusted shipping (this can be handling, overhead, etc as determined by you the seller) (my packaged item weighs just under 3oz - my shipping table goes by whole nearest oz so 3 it is. My adjusted shipping $1 - this covers my ink to print labels, my gas costs and a bit to cover paypal's fees. I don't have any variants or coupons to add to this listing so I click Publish Product and viola!
Your listing is done!
Mine:
Your listing is done!
Mine:

Congratulations you can now list manually on Craft Cafe.
-Carrie-
No comments:
Post a Comment